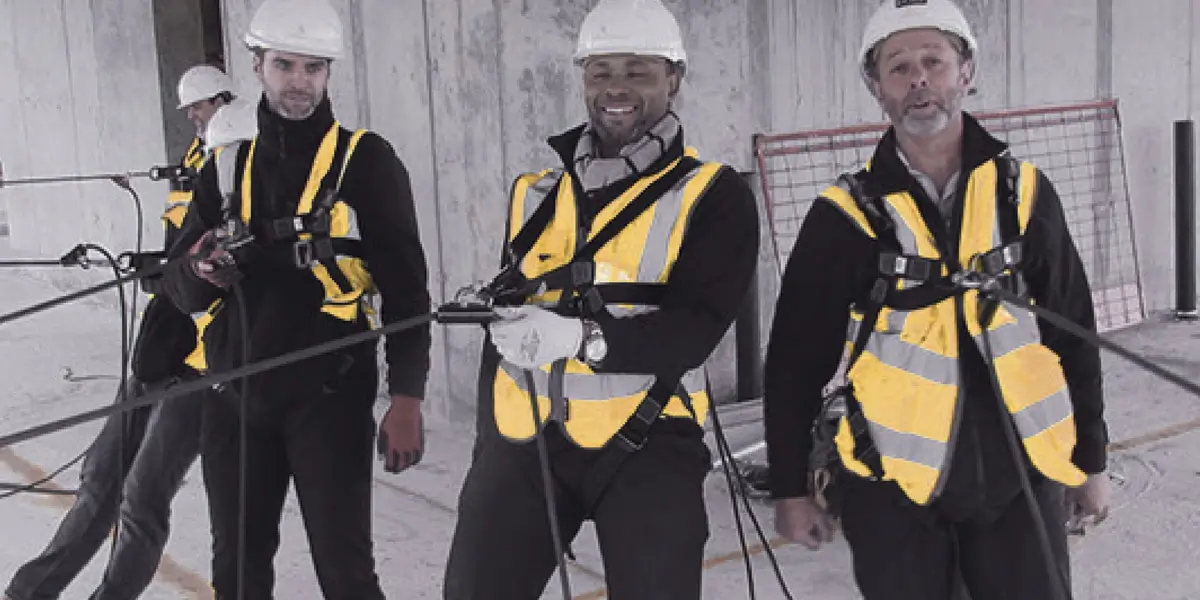
Choosing the right working at height equipment, especially a safety harness, is crucial for preventing injury or worse. It’s not just about putting it on, it’s about wearing it correctly. Every full-body harness, whether made from polyester, non-elastic, or elasticised webbing, has specific safety features and fitting requirements you need to understand. Here’s what you need to know to stay safe.
Understanding the Key Parts of a Safety Harness
-
Rear Attachment (Dorsal Plate)
The rear attachment is one of the most critical parts of any harness. Located on the upper back, the Dorsal Plate may be made of rubber, plastic, or webbing.
Function: Prevents the D-ring from hitting the back of your head during a fall.
Tip: You should not be able to touch the Dorsal Plate by reaching behind your head or lower back. If you can, it’s adjusted incorrectly.
Modern Design: Some harnesses now remove height adjustment buckles to reduce misuse. Elasticised harnesses offer better comfort and promote proper fitting.
-
Front Attachment
Some harnesses feature a chest-mounted D-ring or metal buckle for front anchoring—especially useful for ladder systems and fixed-line fall protection.
Caution: If not worn properly, the D-ring or buckle could strike your neck or chin during a fall.
Safer Option: Many modern designs use soft loops instead of metal front attachments, reducing injury risk.
-
Chest Strap
The chest strap keeps the shoulder straps secure and prevents you from falling out of the harness.
If there’s no front D-ring, the chest strap is usually smaller and softer.
Anchor Rule: Use the rear D-ring if the anchor is behind you, and the front if it’s in front.
Putting on Your Safety Harness: Step-by-Step.
Wearing your harness properly is just as important as choosing the right one.
Step 1: Don’t Step Into It
Avoid laying your harness on the ground and stepping into it.
This increases contamination risk and poor adjustment.
More importantly, rushing to step in can result in a poor fit, which is extremely dangerous in a fall.
⚠️ A loose or poorly adjusted harness can cause severe injury, especially in sensitive areas. Avoid it at all costs.
Step 2: Adjust the Leg Straps
Once you’ve put the harness on like a jacket and secured the chest strap, focus on adjusting the leg straps.
Tension Test: Tighten each strap until you can just fit two fingers between the webbing and the front of your thigh. This ensures it’s snug, but not too tight.
Step 3: Lock All Buckles
Locking your harness is critical.
Every adjustment buckle should include a slider, which is a plastic or rubber loop that locks the strap in place.
If the slider isn’t secured, the buckle may slip in a fall, causing failure at the bar tack (the stitched end of the webbing).
The bar tack is not designed to hold your weight—it’s just there to keep parts in place. If it fails, you could fall straight through the harness.
Final Safety Tip: Always Inspect Your Harness
Even the best working at height equipment is useless if damaged.
Regular inspections are essential. Check for frayed webbing, damaged buckles, and worn stitching.
If you notice any wear or tear, replace the harness immediately.
Stay Safe with the Right Working at Height Equipment
Choosing and wearing your safety harness correctly can save your life. Understanding the components, fitting them properly, and locking everything in place ensures your working at height equipment performs when it matters most.
Need help choosing the right safety harness or fall protection equipment?
Contact us today or explore our range of certified, reliable working at height equipment designed to meet your needs and keep you safe.
See our blog post – How Often Should Working at Height Equipment be Inspected